Using the windows installer
Using the Windows Installer
We maintain an installer for Windows, but we still recommend using the standard EFI install method from our bootable USB in order to take advantage of the stability, security and updatability of Bliss OS builds.
Downloading the installer
Start off by heading to the github repo for the installer and downloading the latest .exe usually found in the /bin/make_installer folder of that repo. https://github.com/BlissRoms-x86/Androidx86-Installer-for-Windows/tree/2.9.0.1/bin/make_installer
There is an .exe file in there named Androidx86-Installv29.0000.exe. That is the one you will need to grab. Save it to your Computer along with the latest Bliss OS/Bass .iso you wish to install along side Windows.
Installing Android
When you launch the application, the UI is mostly self explanitory, but just in case, we will run through the steps here with you.
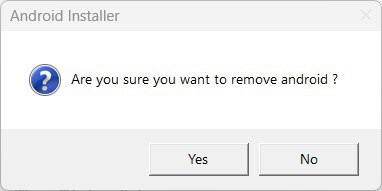
If you have a pervious install attempt that did not work for Bliss, Remix OS, Prime OS, etc. We recommend that you use the Cleanup option first before installing. This will help avoid any configuration or installation issues. This step will ask for verification, and confirm with a dialog when complete.
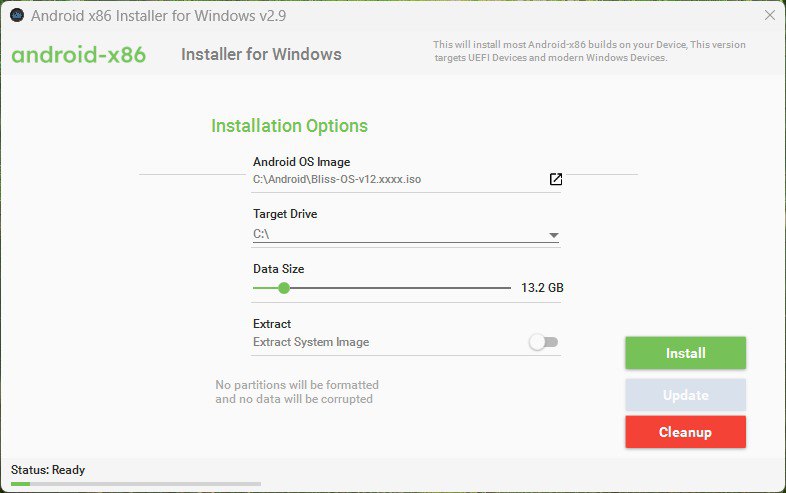
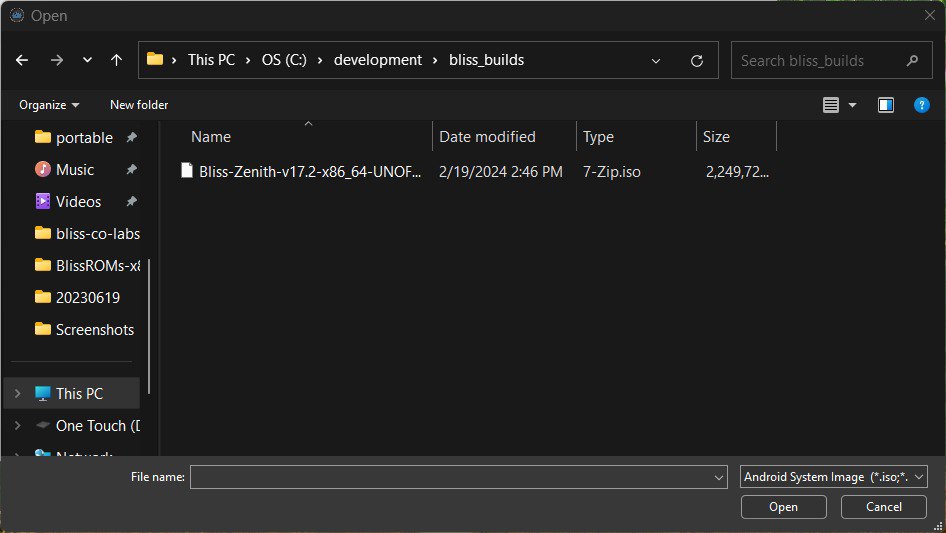
From here, we can relaunch the installer or continue using it, and select the .iso by clicking the icon to the right of the Android OS Image field. This will open a Windows File Explorer window and let you navigate to your download and select the .iso.
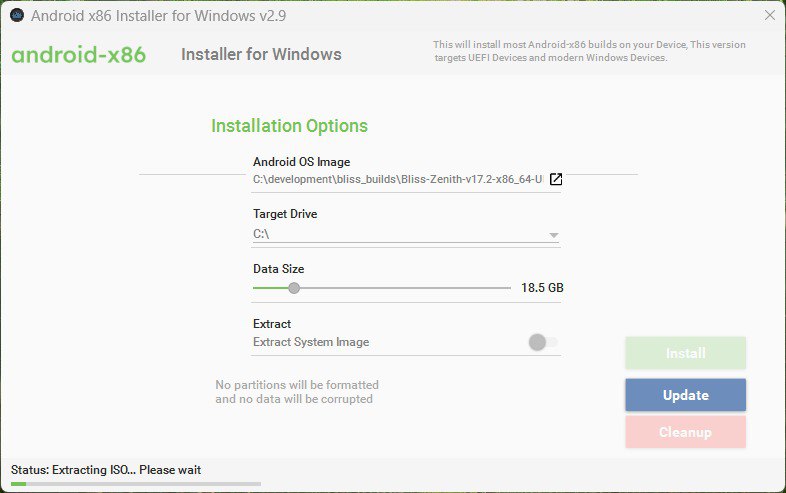
From here, we can select the Target Drive, and then drag the Data Size slider to the space we want to use for our data.img (Android Data partition).
(!!PLEASE NOTE!!): The Extract option is only useful for users that want to be able to remount the system as RW. We provide an immutable root method (KernelSU) in all recent Bliss builds, so this option can be ignored.
When you are done setting up the build, go ahead and click the Install button. The process of the install will display at the lower lefthand side of the app window.
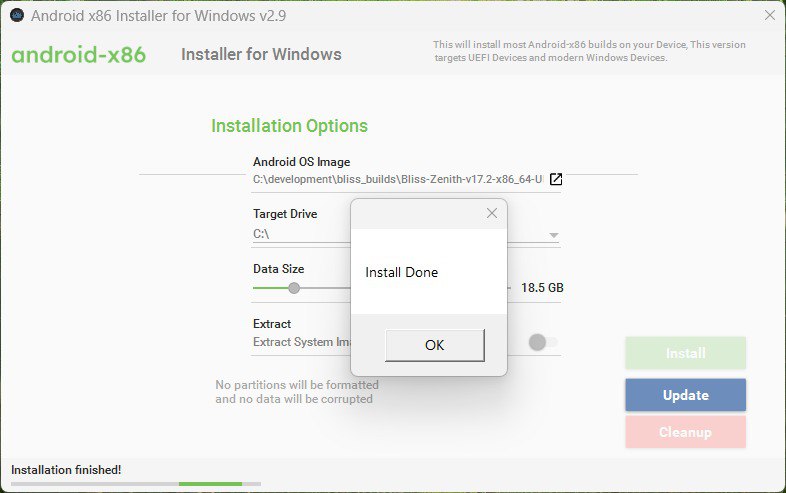
When complete, the installer will popup a dialog stating so.
Rebooting into Android
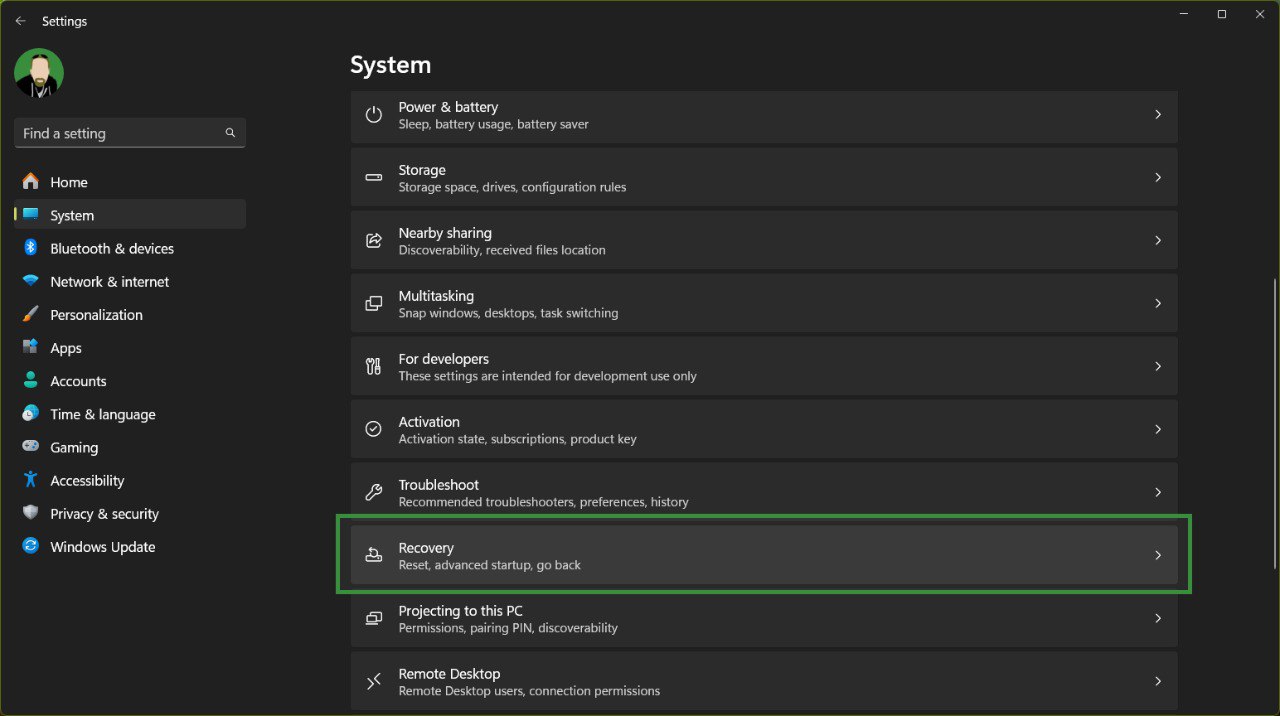
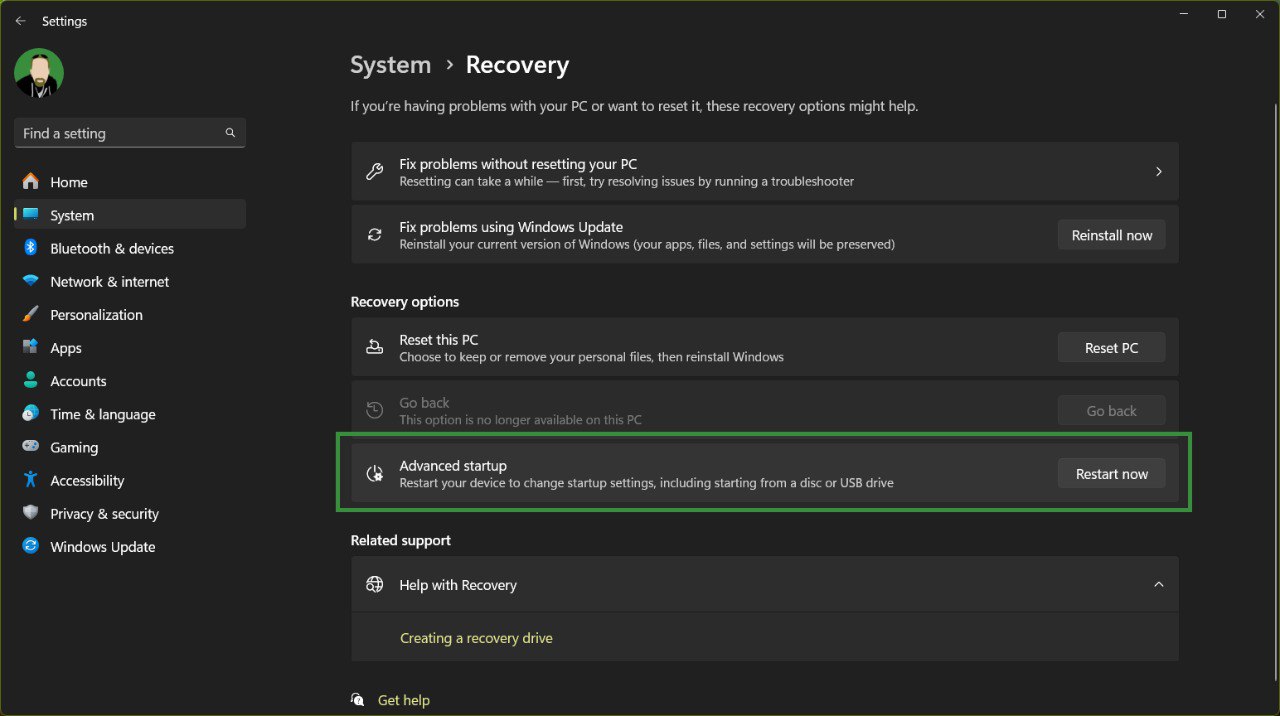
In order to reboot into Android, we start off by entering Settings, and navigating to the System tab on the left, and scroll down, selecting Recovery on the right.
In the Recovery tab, you want to find the Advanced startup option, and click the Restart now button.
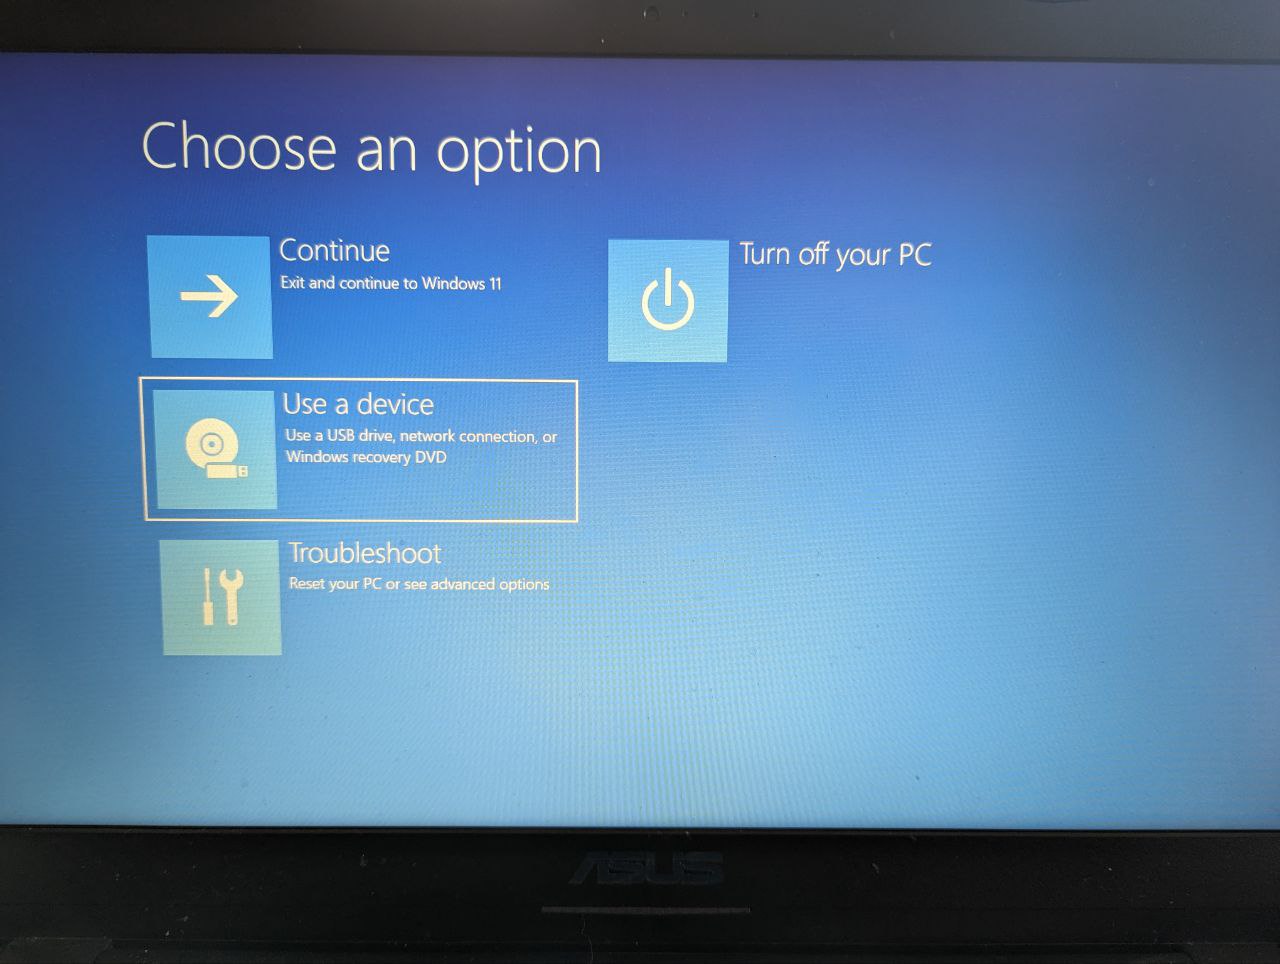
This will restart your PC into the Advanced Startup menu. You want to select the Use a device option
Followed by the Android OS option
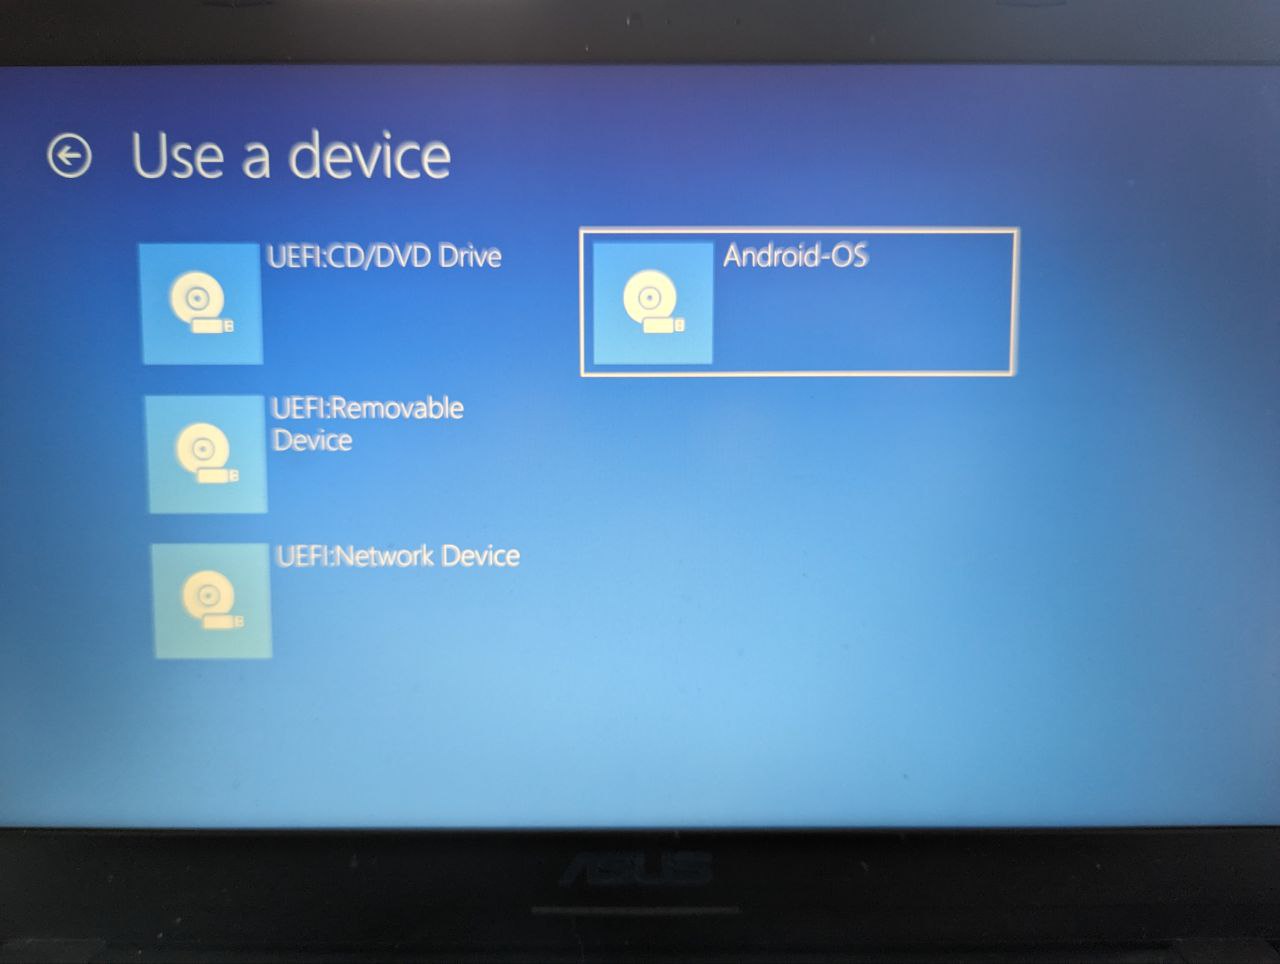
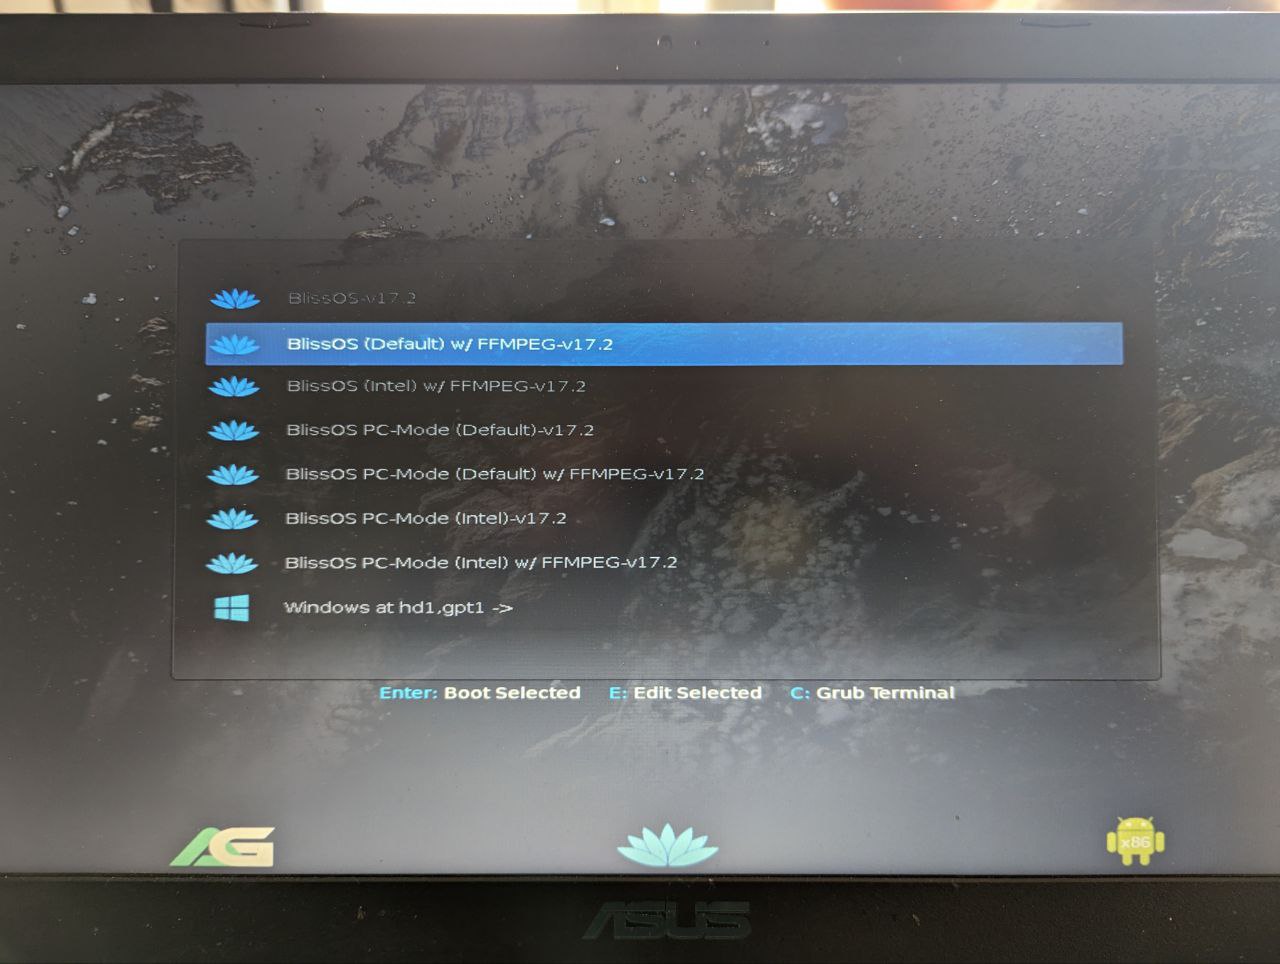
From here, your PC should reboot into Grub, and display the Grub menu for the .iso you installed